The "Connect the PIM" tutorial
#Step 1 | Create a connection
In this step, you are going to create what we call a Connection. 🚀
Creating a connection is the primary step that will allow to connect your PIM. So let's see how to do so! You'll see, it's easy as a breeze.
#You said Connection?
Well, maybe you are not familiar with what a connection is. Let me help you here.
In a few words, a connection can be considered as a door for the PIM. It allows you to push data into or pull data from the PIM.
Connections are directly declared into the UI of the PIM. To declare a connection, you should follow this simple rule: One connection corresponds to one specific data flow.
Alright!
Want to dig a bit deeper into the connection notion? Visit the dedicated help center article about it. 😉
#Step by step
Remember, as an example, we took an ERP connection for the purpose of this tutorial.
As a connection corresponds to one specific connection, we will name our connection: My ERP.
Follow these steps:
- Log into your 4.0 or newer PIM.
Sidenote: This tutorial is dedicated to 4.0 or newer PIMs. Here is the one for older PIM versions. - Depending on the version you use, go to the
System/Connectionsmenu (before the v6) or theConnect/Connection settingsmenu. - Click on
Create.
- In the
Labelfield, enterMy ERP.
Sidenote: the code of the connection is automatically generated based on the label. You can modify it if you want.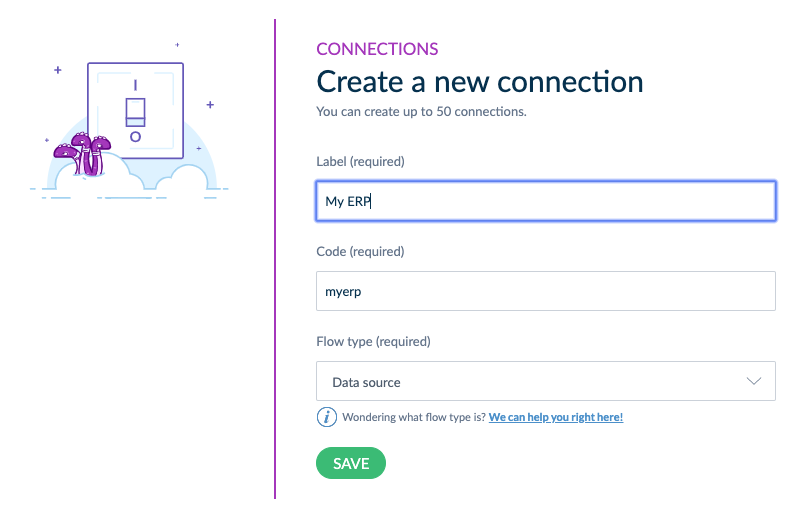
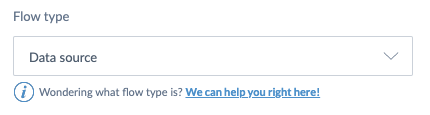
- Choose the flow type of your connection. For this tutorial, pick
Source.
"But why?" - you will say. If you remember our use case, our connection is going to request data from the ERP to send it to the PIM. So this connection can be considered as a data "source" for our PIM. 😉
 Sidenote: Interested in knowing more about this flow type? Read this help center section.
You're done! 🎉
Your My ERP connection is now created. The screen should now display the setting page of your connection, as well as the credentials of the app, that were generated automatically upon creation. Please care about those, you will need them for the last step.