The "Connect the PIM" tutorial
#Step 3 | Identify your connector in the PIM
In the very first step of this tutorial, you created a connection in the PIM.
Here, we are going to associate this connection to the connector you've built (or downloaded from the Akeneo App Store).
By doing so, you will be able to easily monitor the data flows between your connector and the PIM.
- In your PIM, go under
Connect/Connection settings. - In the overview of all your connections, click on the one we created in step 1, aka
My ERP. - In the
Credentialssection of the screen, you will find the "key" to the link between your connection and your connectors: the credentials.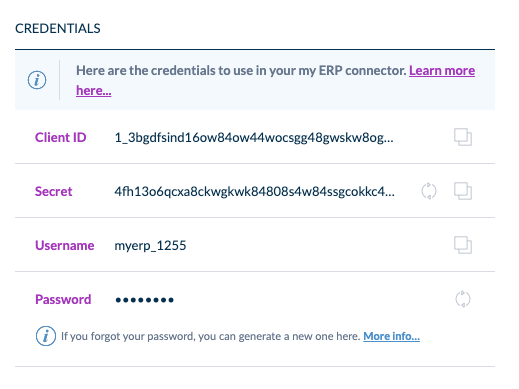
- Thanks to the copy icon on the right side of the table, copy each credential fields: the client id, the secret, the username and the password.
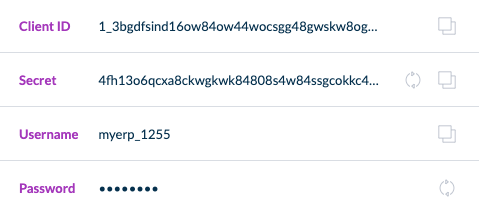
- Paste them into your connector so that it will use these credentials to be authenticated over the REST API.
- In the
Permissionssection of your connection, you also need to carefully set up the permissions you want for your connection. For more information on this step, don't hesitate to browse our help center documentation right here. 😉
If you want to explore what you can do thanks to those permissions, there is also a documentation about their superpowers. Go read it!
That's it! 🎉
Whenever your connector starts making REST API calls, you will be able to monitor your connection's data flows. Indeed, we got you covered with the Data flows dashboard.
To access this screen, click on Connect, then on Data flows.
Here, you can follow the number of products that were updated or created in the past seven days. In our tutorial, it's perfect, because we are updating/creating products coming from our ERP. So we can verify that products are actually created/updated by our connector. 😊
And... that's it! 🎉 You now know how to properly connect the PIM. 😉